Slate tiles do look incredible but like any natural stone you really need to maintain the sealer if you want them to stay that way. Unfortunately it’s usually the case that the sealer wears off overtime especially in the high foot traffic areas such as Kitchens and within a few years the tiles become dull with ingrained dirt.
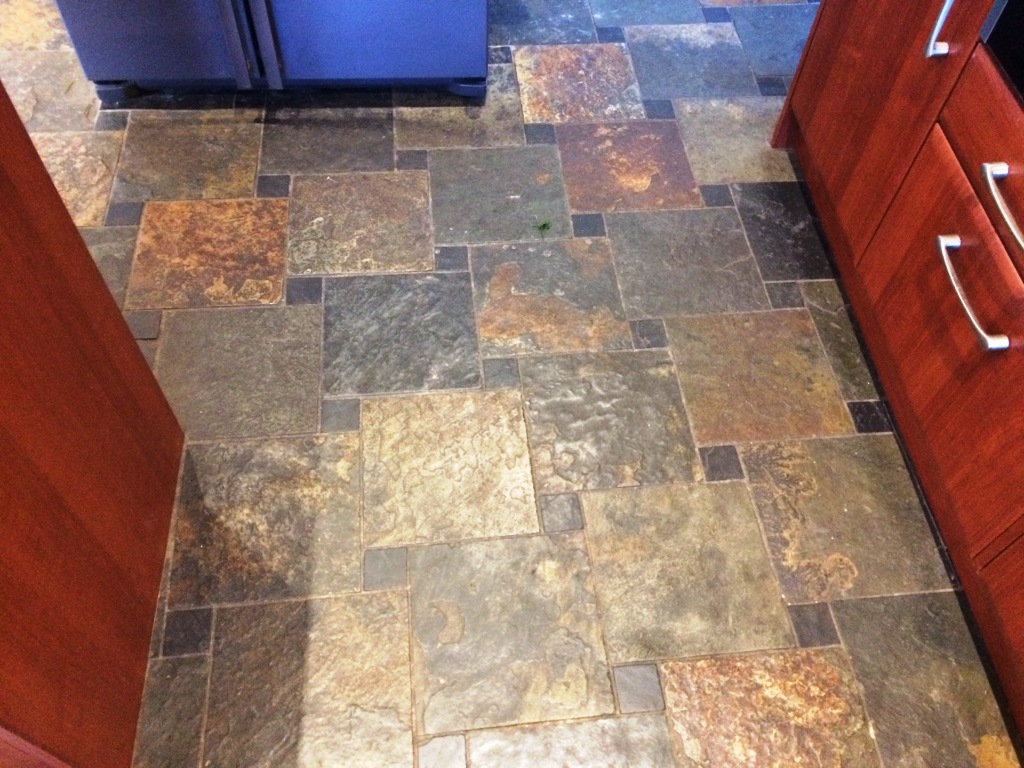
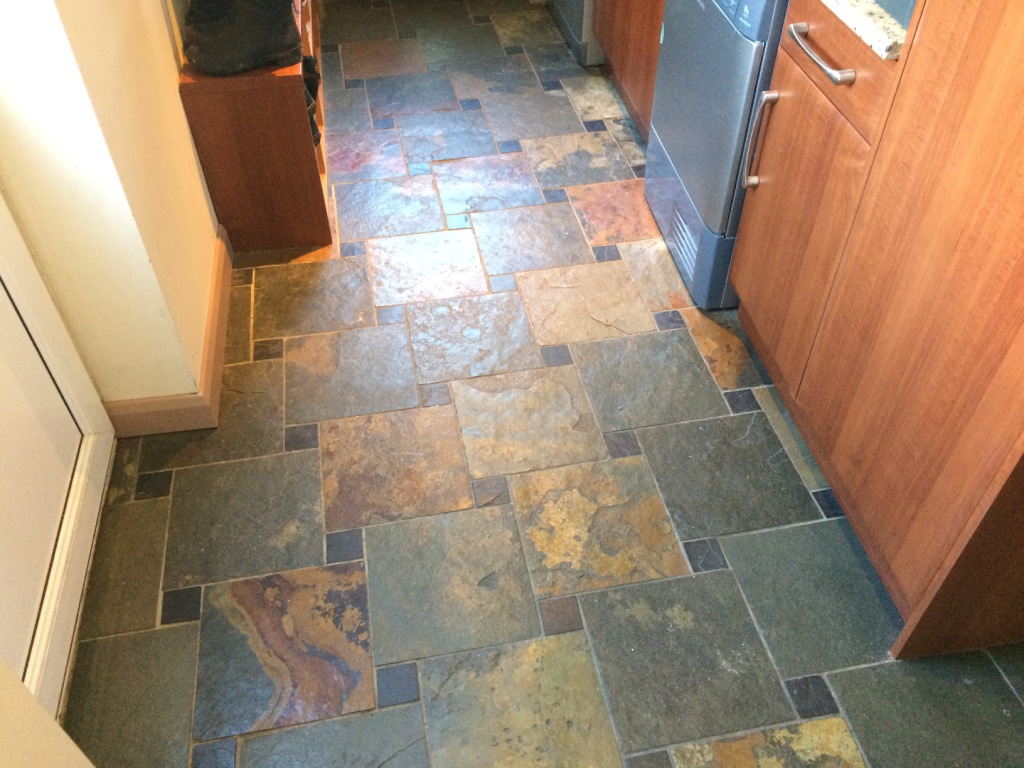
This process happens so gradually it goes un-noticed until the floor becomes difficult to keep clean and a decision is made to have it sorted out. This was certainly the case with this Semi Riven Multicoloured Slate tiled kitchen floor at a house in the Berkshire village of Spencer’s Wood. The floor had been installed about fifteen years prior and over the years the Slate had become soiled to the point where domestic cleaners weren’t having any effect.
 |
 |
Cleaning Dirty Slate Kitchen Tiles
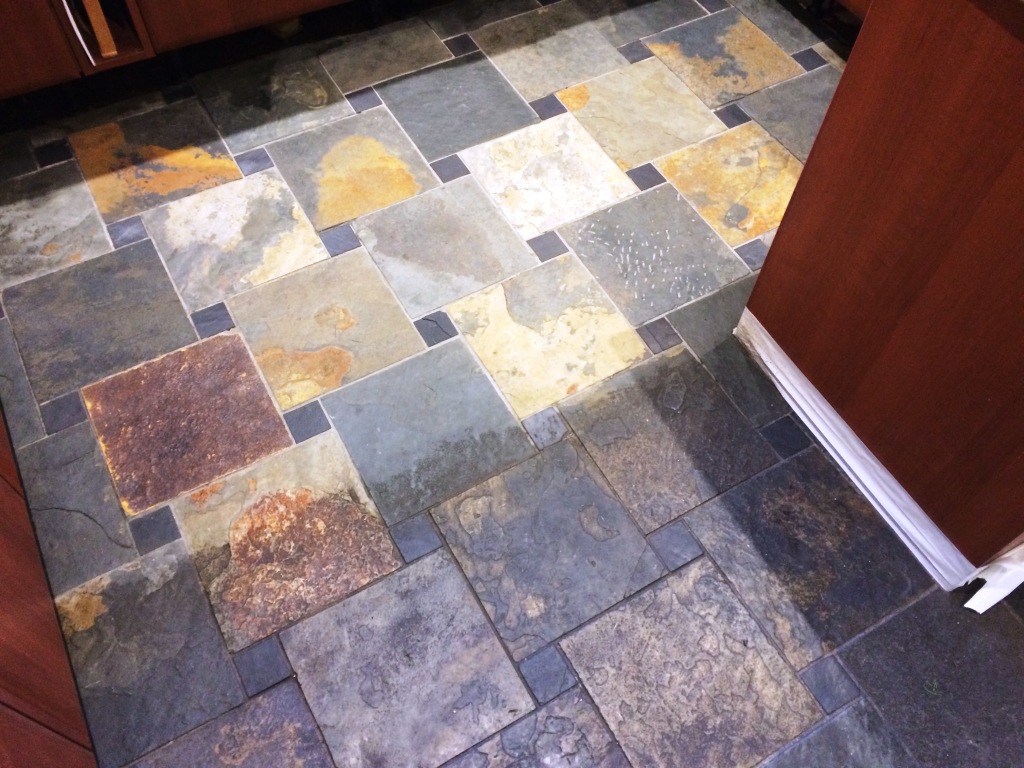
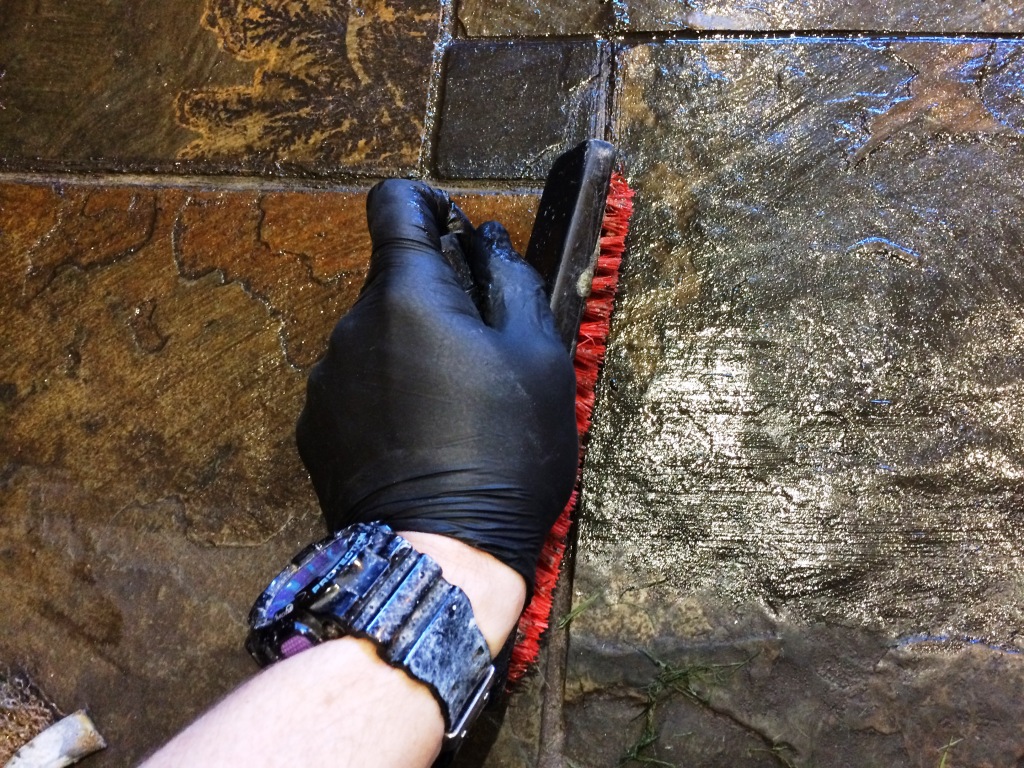
To begin the restoration I soaked the tiles in a strong dilution of Tile Doctor Remove and Go and left it to dwell for about twenty minutes re-applying extra solution when it had dried. Remove and Go is our go to product for removing old coatings such as in this case sealers, although much of the old sealer had worn off it was still present in the less busy areas of the floor and to get an even final result I needed to ensure all of it was removed. Once the old sealer had started to weaken I agitated the product using a black pad fitted to a rotary buffing machine. The rotary pad struggles to reach into the recesses of the grout lines so I also made sure to scrub the solution into the grout with a grout brush.
 |
 |
I suspect there were multiple layers of sealer on this floor that had been applied over the years as some areas were proving particularly stubborn. Something stronger was going to be needed particularly in the grout lines. So I applied Tile Doctor HBU remover; HBU stands for Heavy Build-Up and allowed this to dwell for thirty minutes while I cleaned other areas.
Once I was satisfied that the Slate and the Grout was clean and clear of old sealers I gave the whole floor a rinse with water using a wet extraction machine. One the soiled cleaning solutions were removed you could really see the difference that the combination of cleaning products had made.
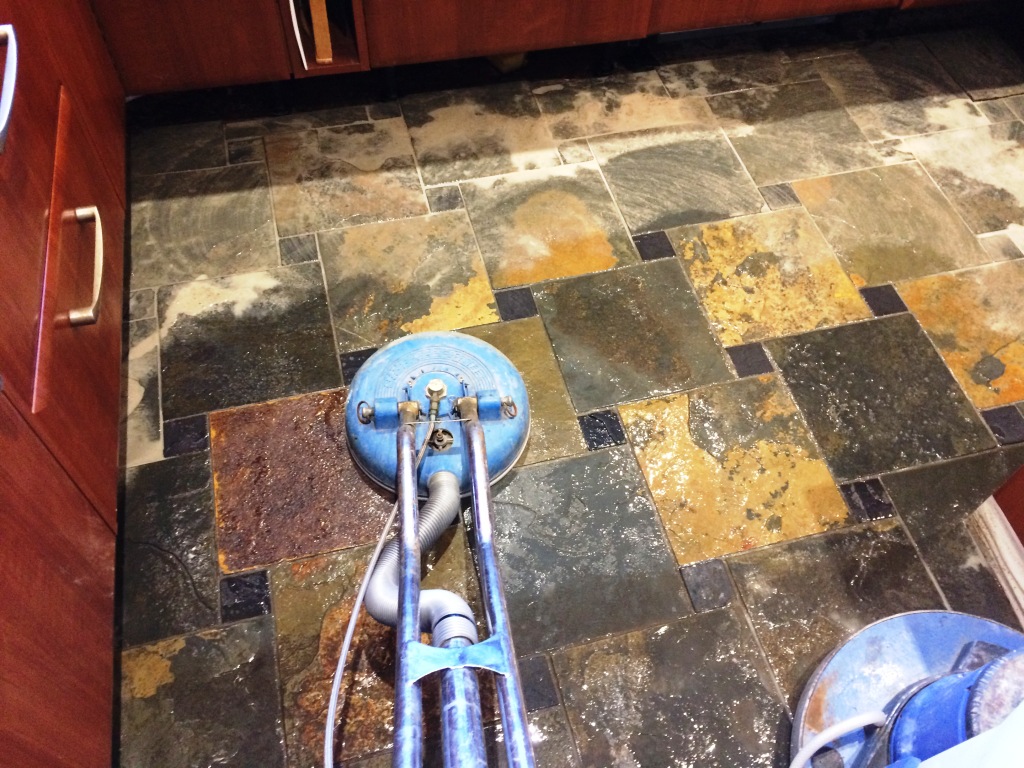
The final step in the cleaning process was to give the floor an Acid Wash using a mild solution of Grout Clean-up which removes any surface grout (aka grout smears) and other mineral deposits from the slate to ensure they true beauty of the stone will be visible. Once this was removed the whole floor was rinsed with water to remove any trace of product and then dried as much as possible. After a final inspection the floor was left overnight to dry off fully.
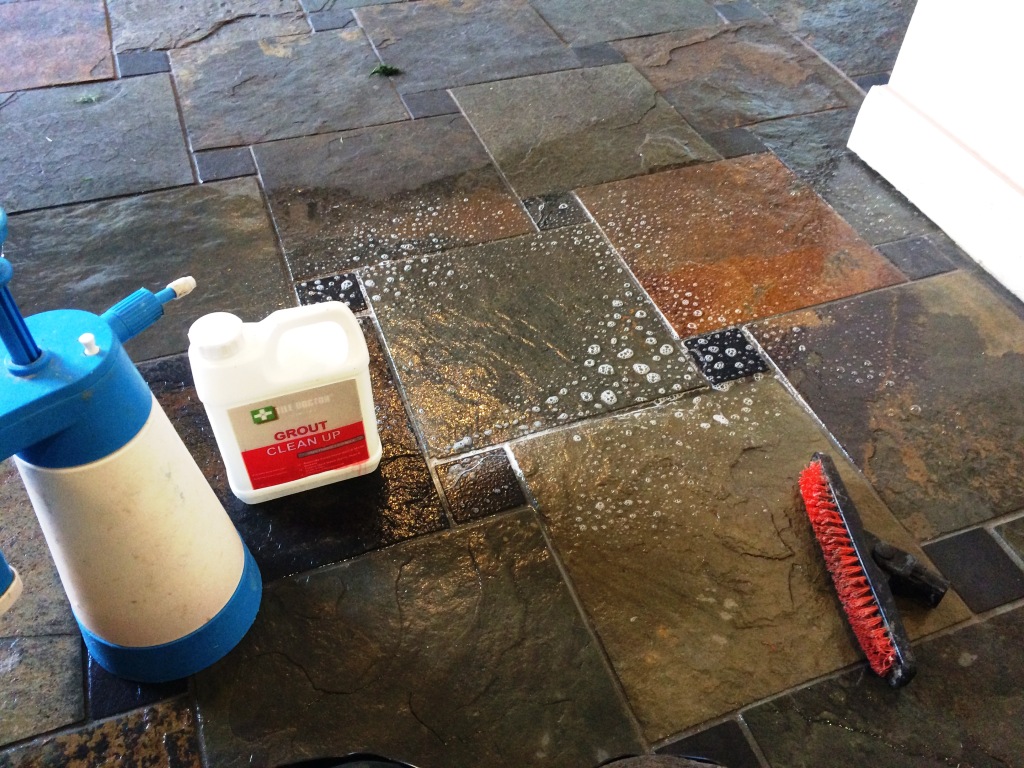
Sealing Slate Kitchen Tiles
Returning to the property the next day, I ran some quick damp tests to check for any excess moisture that might have prevented me from sealing the floor. We will always do this as excess moisture can affect the sealer curing.
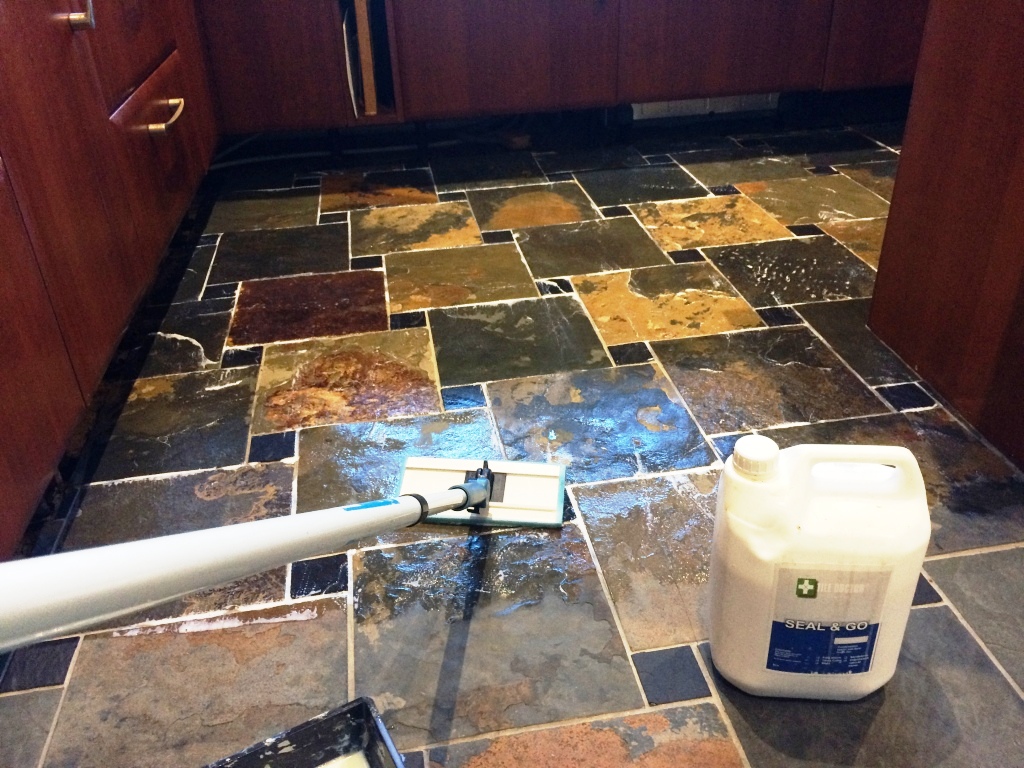
The customer was very happy with the clean and the floor was dry so we discussed sealer options to find out their preference for Matt or Satin finish. With the decision made to go with a Satin finish I began the application of the Tile Doctor Seal and Go which enhances the look of the stone with an aesthetically pleasing low-sheen finish, as well as providing on-going protection against ingrained dirt and staining.
 |
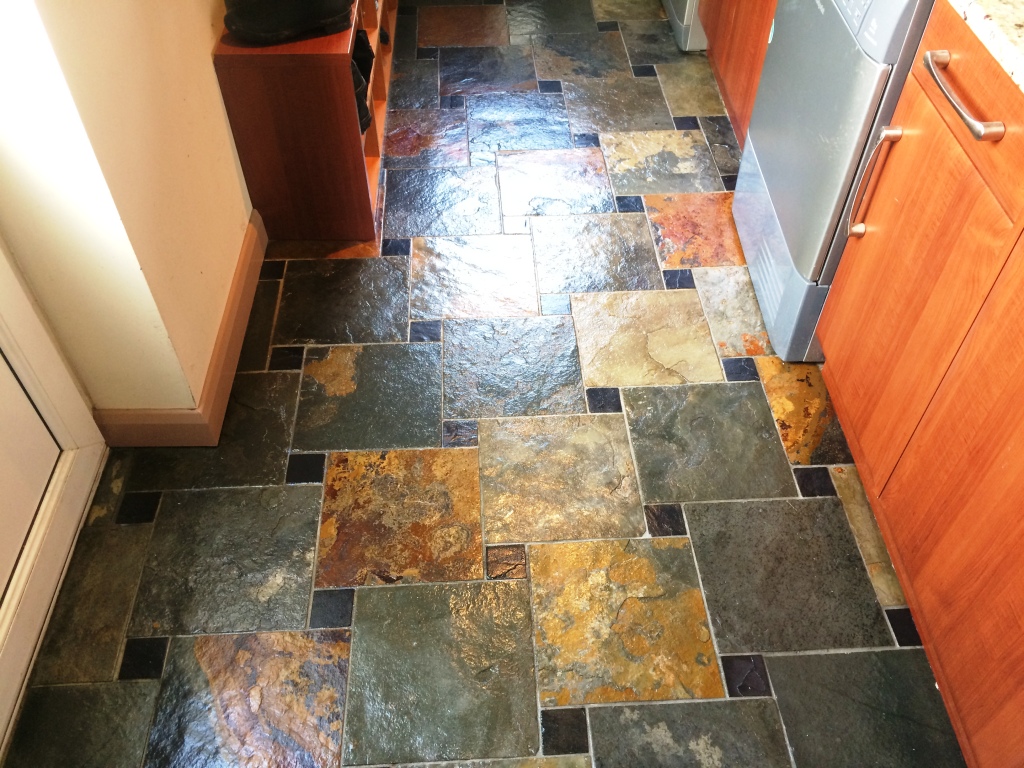 |
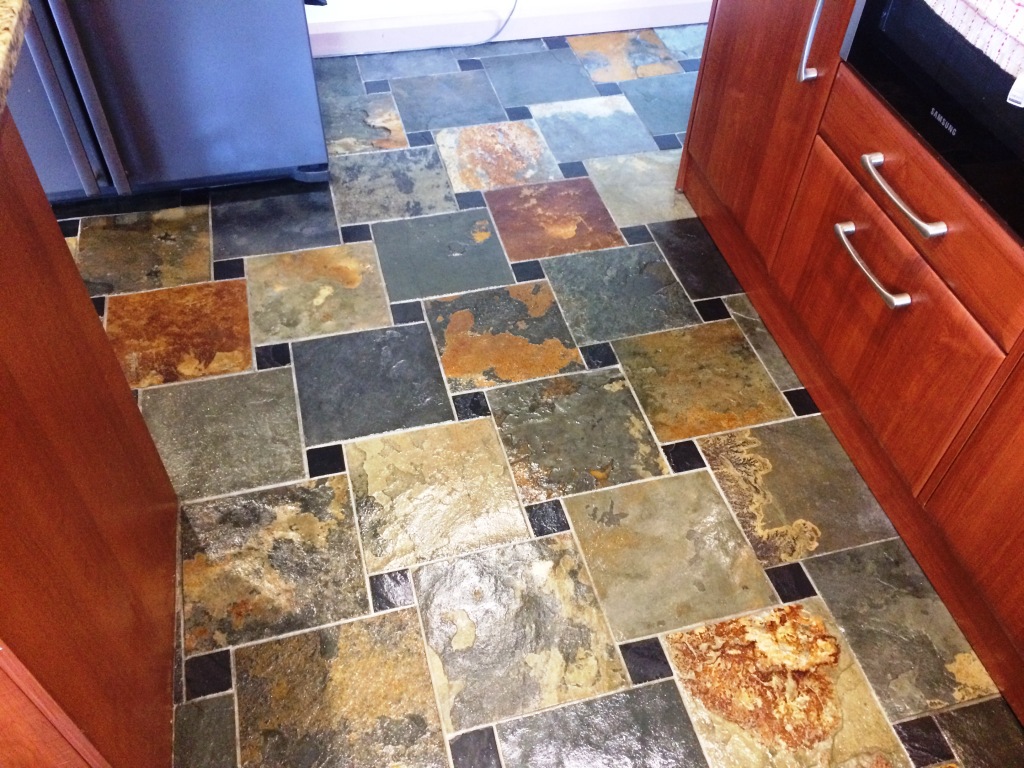
A total of five coats of Seal and Go were needed to seal the Slate tiles and as you can see from the photos the sealer really put the life back into the floor.
Source: Slate Floor Cleaning and Renovation Service in Berkshire
All tile sealers wear down over time depending on use and what products are used to clean the floor so if you do want to keep your tile and grout looking its best talk to Tile Doctor to work out a maintenance program for your tiles.